Hey, let’s talk about highlighters! They’re the cherry on top of a killer makeup look, right? That soft, glowy, “I woke up like this” radiance can really take a client’s look to the next level. But here’s the tricky part: not all highlighters work for everyone. Trust me, finding the perfect shade for your client’s skin tone can make all the difference between a flawless glow and, well…looking like a glitter bomb. So let’s dive into some juicy tips on how to choose the right one—like we’re just chatting over coffee. ☕💄
1.For Fair to Light Skin Tones 🧚♀️✨
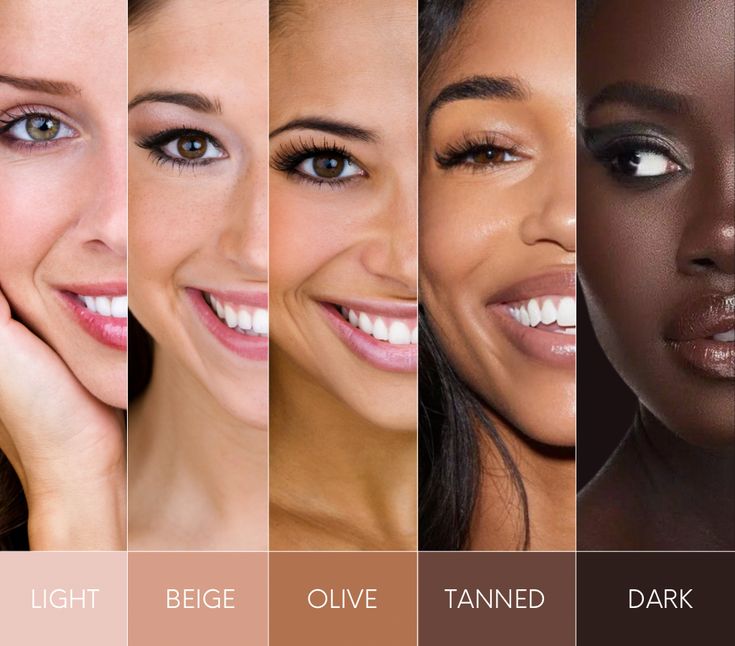
For your fair-skinned clients, you’ll want to stick to highlighters with soft, icy tones. Think pearl, silver, or even a touch of pink. These shades give the skin a gorgeous, subtle glow without looking too harsh. Champagne shades with a cool undertone are also a safe bet.
Pro MUA Tip: Fair skin can be super tricky because highlighters with warm gold tones might look too dark or yellow. Go for shades that blend seamlessly, like the ones that almost melt into the skin. And here’s a hack: if your client has freckles, don’t go too heavy-handed. A light sweep on the high points will give them that glow without covering up their natural beauty.
2.For Medium to Olive Skin Tones 🌞🍯
Alright, medium and olive tones are my favorite because they can handle a bit more warmth in a highlighter. Golden champagne or peachy-gold shades are your go-to here. These tones really complement the skin’s natural undertones and give that sun-kissed goddess vibe.
Pro MUA Tip: Avoid icy or silver highlighters. They tend to clash with olive undertones and can make the skin look ashy—like, not cute. And if you want that glow to look extra natural, try mixing a liquid highlighter with your client’s foundation for an all-over luminous effect.
3.For Tan to Deep Skin Tones 🌟🔥
Okay, here’s where the magic happens. Deep skin tones can absolutely rock the richest, boldest highlighter shades—think golds, bronzes, and even coppers. These shades enhance the natural warmth of deeper skin tones and create a glow that looks so luxe, it’s unreal.
Pro MUA Tip: Cream-based highlighters work like a dream on deeper skin. They blend in beautifully and give that lit-from-within glow. And don’t be afraid to layer! Start with a liquid or cream highlighter as a base and then dust a powder highlighter on top for that “see it from space” finish.
4.Universal Highlighter Shades 🌈✨
Need a shade that’ll work on almost anyone? Neutral champagne is your BFF. It’s not too warm, not too cool, and it’s super versatile. Also, liquid highlighters are a lifesaver because you can sheer them out for a natural glow or layer them up for more intensity.
Pro MUA Tip: Keep a few multi-purpose highlighter palettes in your kit. That way, you can mix and match shades to create a custom glow for every client. Plus, palettes are great for saving space—because let’s be real, our kits are already heavy enough. 😅
Application Tips You’ll Love
Highlight the Right Areas: Focus on the high points of the face—cheekbones, brow bones, the bridge of the nose, and the Cupid’s bow. For mature clients, skip the tip of the nose to avoid emphasizing texture.
Layer Like a Pro: For long-lasting impact, layer a cream or liquid highlighter under a powder one. This creates depth and ensures the glow stays put through long photoshoots or events.
Use the Right Tools: For powders, a fluffy fan brush works wonders. For liquids or creams, your fingers or a damp beauty sponge will give the most seamless finish.
Don’t Forget the Body: If your client’s shoulders or collarbones are exposed, add a little highlight there too. It ties the whole look together and gives a cohesive glow.
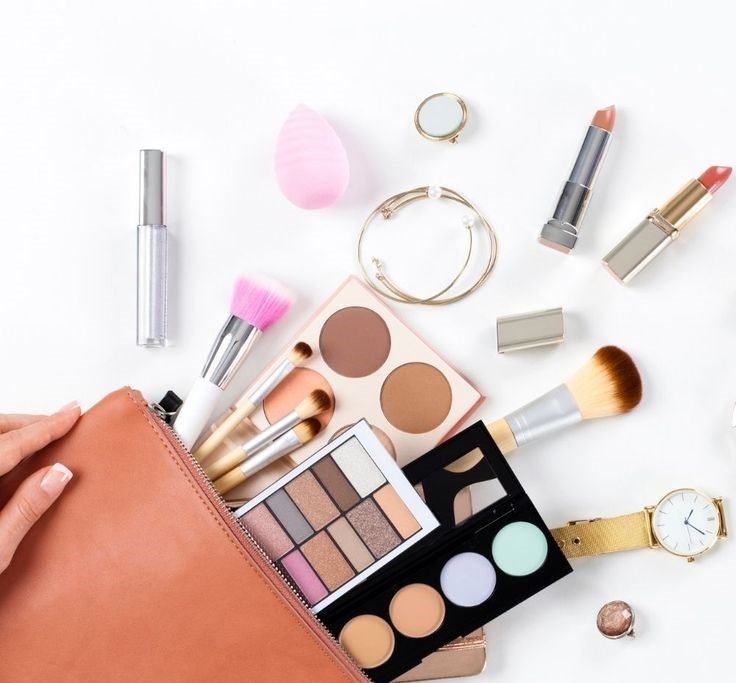
Products You’ll Want in Your Kit
Here’s a quick breakdown of formulas to keep handy:
Powder Highlighters: Best for oily or combination skin. They’re long-lasting and easy to blend.
Liquid Highlighters: Ideal for that natural, dewy glow. They’re also great for mixing into foundation.
Cream Highlighters: Perfect for dry or mature skin. They’re super blendable and give a skin-like finish.
Let’s Talk Technique
Want to take your highlight game to the next level? Try tailoring the glow to your client’s face shape. For example:
Round Faces: Focus on the tops of the cheekbones and avoid bringing the highlight too close to the nose.
Square Faces: Highlight the cheekbones and the center of the forehead to soften angles.
Heart-Shaped Faces: Add a little glow to the chin for balance.
Highlighting isn’t just about slapping some shimmer on the skin—it’s an art. The right shade and placement can completely elevate a look and make your clients feel like their most radiant selves. And as a makeup artist, mastering this skill is one of the best ways to stand out. So go on, experiment, and don’t be afraid to glow big or go home. 💖✨
If you want to chat more about product recs or specific techniques, let me know—I’ve got plenty of tips up my sleeve! 😊