Alright, makeup artist fam—let’s talk about something we all love and hate: makeup sponges. We all know they’re a game-changer for that flawless finish, but keeping them clean? Not as much fun. Don’t worry, I got you! Here’s the lowdown on cleaning and storing your sponges in a way that’ll keep them looking fresh and working like new.
Step 1: Get ‘Em Wet (But Not Too Wet)
First things first—before you even think about cleaning your sponge, make sure it’s damp. I know, we all get in a rush, but trust me, wetting your sponge before washing it helps break down the makeup and makes cleaning so much easier.
MUA’s Tip: Always use lukewarm water—not too hot or too cold. You don’t wanna burn your fingers, and hot water can mess with the sponge’s material.
Step 2: Choose Your Cleaner Wisely
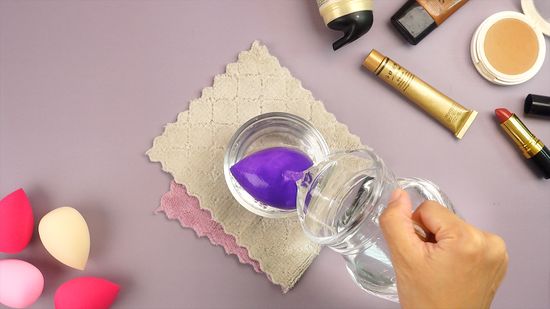
You don’t need a fancy sponge cleaner to do the job. A gentle baby shampoo or a mild dish soap will do the trick. If you really want to get fancy, there are sponge cleansers out there (but let’s be real, soap is probably good enough). Just apply a small amount to the sponge, and gently work it in with your fingers. You don’t need to go crazy scrubbing—it’s more about massaging that product out.
MUA’s Tip: Be gentle! Sponges are squishy, but if you’re too rough, you might tear them or mess with their texture. Think of it as a little spa session for your sponge.
Step 3: Rinse, Rinse, Rinse
Once you’ve worked in your cleaner, rinse the sponge under water until it runs clear. If you’re still seeing foundation or concealer, give it another round of love and rinse again. The key is to make sure there’s no product left inside. If you’re not rinsing it enough, that buildup is going to affect how well your sponge works next time.
MUA’s Tip: Squeeze, squeeze, squeeze. Get all that dirty water out. Don’t wring it, though—just a gentle squeeze to get it all out.
Step 4: Drying Like a Pro
Now, here’s the part where we all make mistakes. Don’t leave your sponge lying around on your counter or jam it back into your kit right away. You NEED to let it air dry. The best way is to place it on a clean towel or sponge drying rack. Make sure it’s in a spot where it can fully dry out, and DON’T put it in your makeup bag while it’s still damp. That’s a recipe for mold, and we don’t want that.
MUA’s Tip:If you’re in a rush, use a towel to gently press out any excess water. But never store it when it’s wet—your sponge needs to breathe!
Just like storing cream products properly (you know, those beauty products we all love but are so easy to neglect), storing your makeup tools like sponges correctly is just as important. Letting your sponge dry fully and giving it proper storage space ensures it lasts longer and stays in good condition, just like a well-kept cream blush or foundation.
Step 5: How to Store Your Sponges Properly
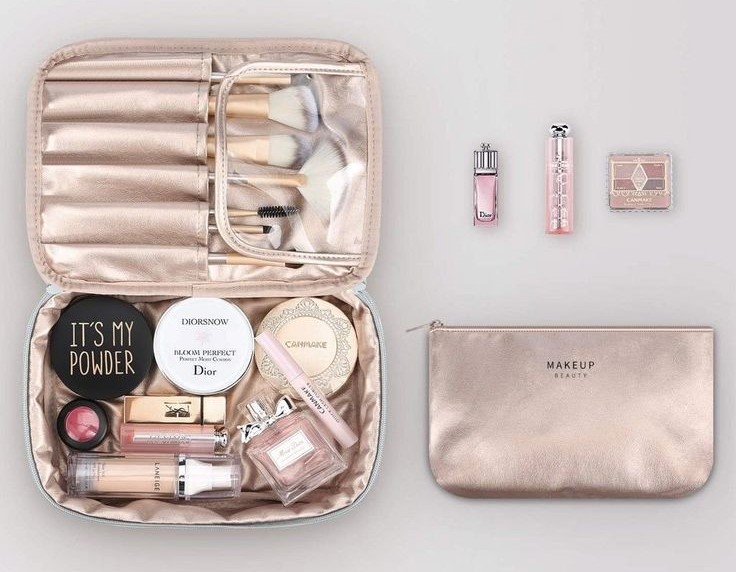
Okay, this is probably where most of us fail—storing our sponges. If you’re just throwing them in your kit, you’re probably doing it wrong. Storing them properly is key to keeping them clean for longer. Ideally, you want a breathable bag or container to keep them in—something that allows air flow. You don’t want your sponge to be sitting in a closed-off space, sweating out all that dampness.
MUA’s Tip: If you’re traveling, look for a mesh pouch or breathable case. Anything that lets air in and keeps your sponge safe from dirt or dust.
Step 6: When to Replace Your Sponge
Listen, sponges don’t last forever. If you start to see them losing their shape or texture, or if they start smelling funky no matter how much you clean them, it’s time to toss it. I know it’s hard, but it’s better to replace than to risk your makeup application looking, well, less than perfect.
MUA’s Tip: A good rule of thumb? If you’ve had your sponge for more than a few months, it’s probably time for a new one.
Real Talk:
I get it. Cleaning your sponges can feel like a chore when you’re juggling a million things, but trust me—it’s worth it! A clean sponge means smoother application, longer-lasting makeup, and a healthier skin routine for your clients. So, make cleaning and storing your sponges a regular part of your routine, and you’ll see how much better your tools—and your makeup game—become. Just like with your cream products, proper care equals longer life and better results!