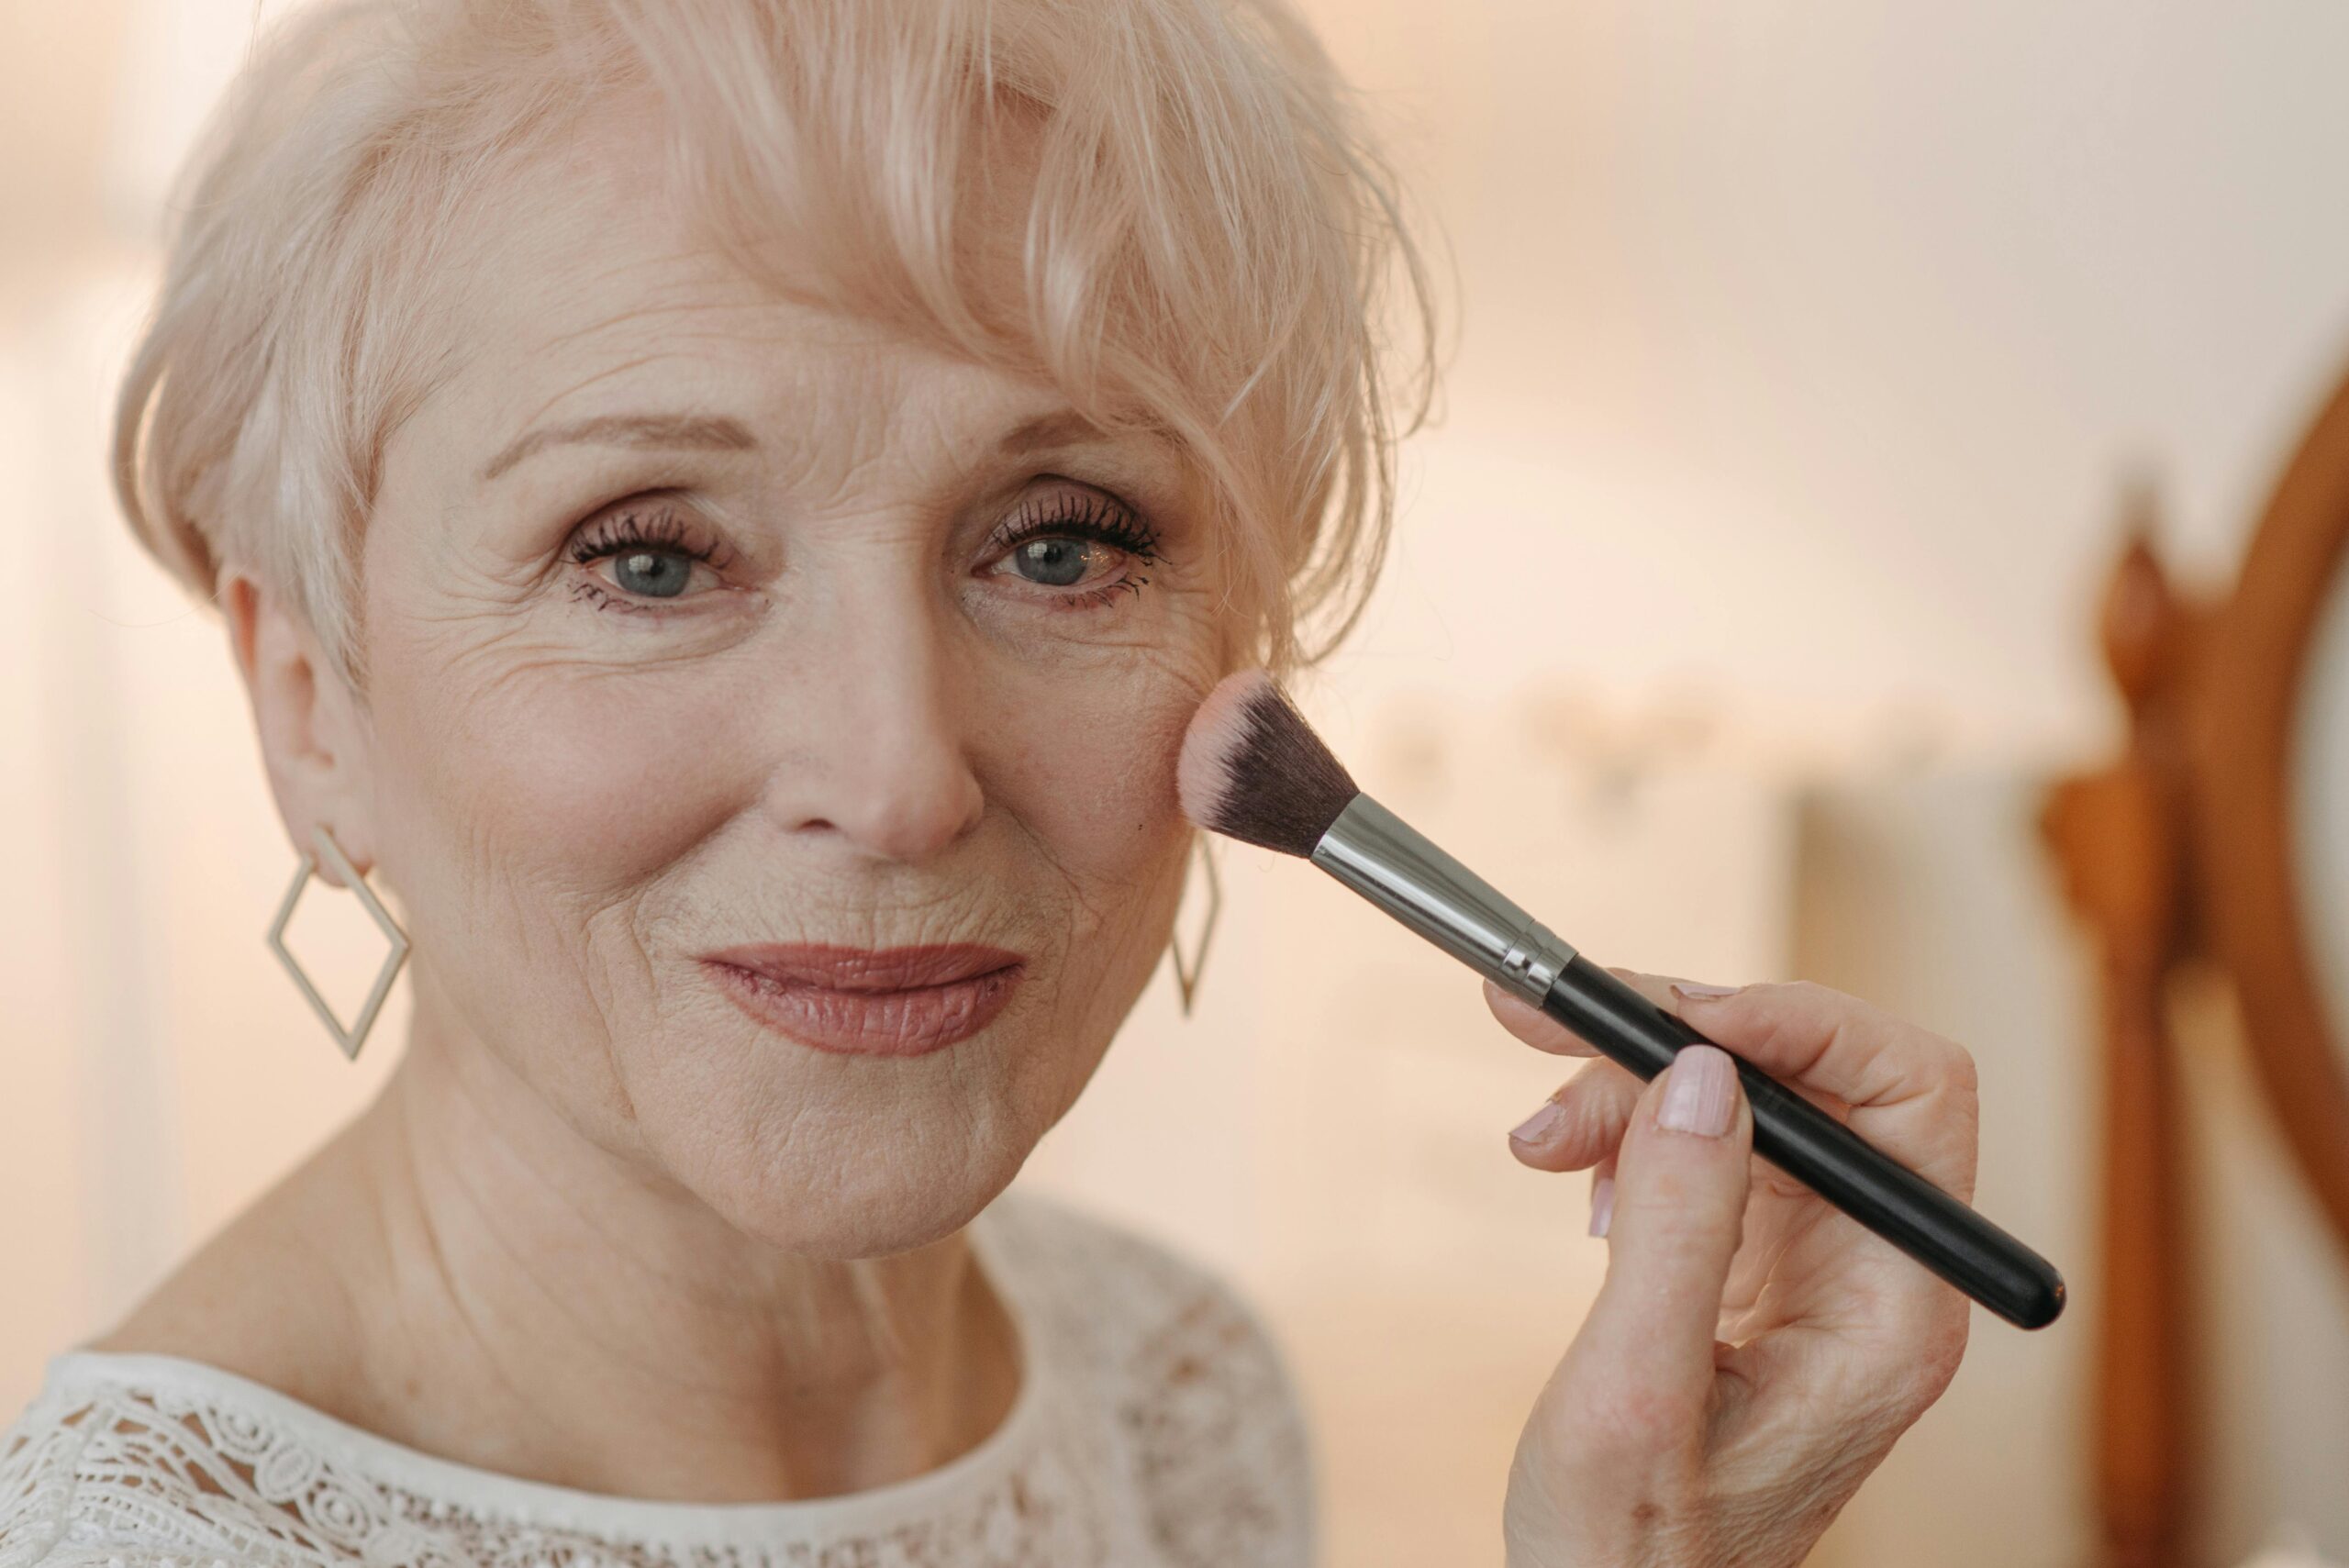
Alright, makeup artists, listen up! 👋 We’ve all been there—standing in front of a client, wondering if that foundation’s gonna give them a natural glow or turn them into an orange blob. 😬 It’s not just about color matching; it’s about knowing your client’s skin type, tone, and what their skin really needs. Let’s dive into how to nail the perfect makeup look based on these factors, so you never second-guess your products again.
- Know the Skin Type, Know the Game!
If you’re trying to get that flawless finish, you gotta first figure out what kind of skin you’re dealing with. Is it oily? Dry? Combo? Sensitive? The type of skin totally influences what products you need to pick.
Oily Skin:
For all your oily-skinned clients, mattifying primers and foundations are your best friends. Go for oil-free formulas and finish off with a setting spray or powder to keep things in place. Trust me, no one wants to look shiny halfway through a photoshoot, am I right? 😅
Dry Skin:
Dry skin needs love, not a heavy layer of matte foundation. Hydrating primers, dewy foundations, and setting sprays are your BFFs. Look for formulas with added moisture or oils. If your client is flaky or patchy, a hydrating mist can do wonders mid-day to refresh their look. 💧
Combination Skin:
The struggle is real with combo skin! 🙄 You’ll need products that balance oil and moisture. Hydrating primers in the right areas (typically the dry spots) and mattifying in the oily spots will do the trick. It’s like playing a game of makeup Tetris, but you’ve got this!
Sensitive Skin:
Sensitive skin means you gotta keep things gentle. Opt for fragrance-free, hypoallergenic formulas. Trust me, you do not want to be dealing with a reaction mid-session. Yikes. Avoid thick, heavy foundations that could clog pores, and go for breathable formulas that let the skin breathe.
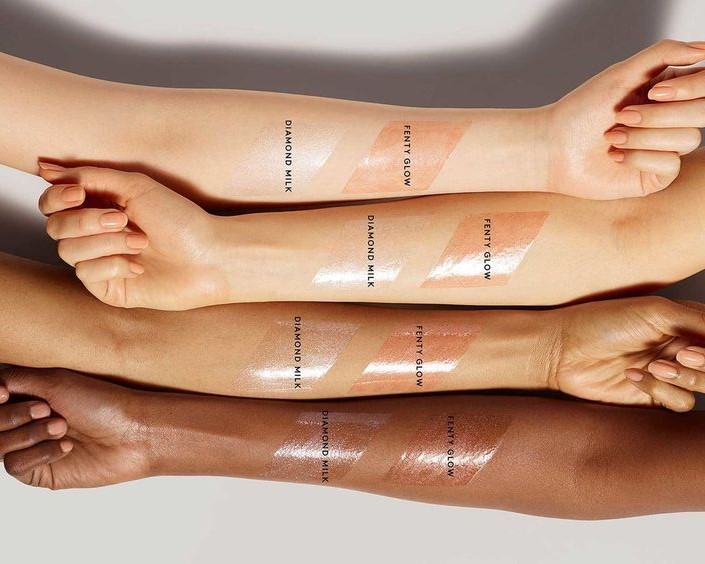
- Finding the Perfect Shade for Every Tone
Now, let’s talk about tones—because there’s no one-size-fits-all when it comes to foundation! Choosing the right shade is crucial to creating a natural, glowing look.
Fair Skin:
Lighter foundations are your go-to, but make sure they don’t lean too yellow or too pink—balance is key. A good tip: Look for foundations with a neutral undertone to match the skin’s natural tone without making it look too ashy or too warm. And please, no ghost face! 👻
Medium Skin:
Medium skin tones are lucky because they can usually pull off a range of shades, but don’t get lazy! Stay away from shades that are too light or too dark, and make sure you find a nice balance between warm and neutral undertones. The goal is to enhance the skin, not overwhelm it.
Tan Skin:
For tan skin, go for deeper shades with a warm undertone. Yellow and golden undertones are perfect for giving that sun-kissed glow. But, remember to check the undertones—if your client has cooler undertones, you may want to pick a more neutral shade to avoid that orange-ish look.
Deep/Dark Skin:
Dark skin needs rich, deeply pigmented foundations. Go for shades that match the deeper hues of your client’s skin, but also make sure they aren’t too red or too ashy. If you find the perfect shade but it’s a little too light, mix it with a deeper shade for custom perfection. 🔥
- Undertones: The Secret Sauce to Perfect Makeup
If you’re not checking undertones, you’re doing it wrong. 😅 Seriously, undertones can make or break your foundation choice. You can have a client with medium skin, but if their undertone is cool or warm, that makes a huge difference.
Warm Undertones:
Look for foundations that have a golden, yellow, or peachy base. These shades are perfect for clients with yellow-toned skin, and they’ll give a sun-kissed glow.
Cool Undertones:
For those with pink or blue undertones, foundations with a red or pink base work best. You don’t want to pick a golden-toned foundation and make them look orange! Yikes, trust me, it’s a nightmare to fix in the middle of a session.
Neutral Undertones:
Neutral undertones are like a mix of both warm and cool. Lucky for you, neutral undertones can pull off a range of shades—so get ready to play around with different options to find the perfect match.
- Setting Is Key (Seriously, Don’t Skip This Step)
You’ve found the perfect foundation, nailed the undertone, and it’s looking flawless—but don’t forget the power of setting! Setting powder or setting spray is like putting a lid on a jar—nothing leaks out. You’re gonna need it, especially for your oily or combo skin clients. A little spritz, a light powder, and boom, that makeup’s staying put! - Tools Make a Difference Too
Let’s talk brushes for a second. The right tools can make or break your application. If you’re using cheap, scratchy brushes, your client’s going to notice. Quality brushes and sponges give a much smoother, more even application. Plus, make sure your sponges and brushes are clean—that can impact the way products apply, especially when working with different skin types. - Customizing the Formula
Sometimes, a client’s skin needs a little extra help, and that’s okay! You don’t have to pick just one product. Mixing foundation with a drop of oil or a radiant primer can do wonders for dry skin, and a mattifying primer can save you when working with oily clients. Customize to make their skin type work for you. 🔧
Finding the perfect makeup for each skin type and tone might take a little trial and error, but once you’ve got the basics down, you’ll be unstoppable. Remember: Always test products on the skin, trust your instincts, and never forget to take care of your brushes! You’ve got this, and your clients will be looking flawless every time. 🎨💄