Alright, listen up, you gorgeous, talented makeup artist! You’ve been dreaming of starting a YouTube channel, right? Showing the world your killer contour skills and that smokey eye that slays every time? But then you think, “Ugh, where do I even start? What if my video looks like a potato filmed it?”
Don’t stress, boo. I’ve got you covered. Think of this like your backstage pass to creating a banging YouTube video that shows off your artistry AND your personality. Let’s dive in—and don’t worry, I’ll make this fun and easy, like chatting with a bestie who keeps losing their eyeliner.
Step 1: Pick Your Video Idea (The Juicy Stuff)
First things first: What are you filming? You’ve got two options:
- A tutorial, like “5-Minute Everyday Glam” or “How to Perfect Winged Eyeliner Without Crying.”
- Something fun, like “Testing Drugstore Makeup Dupes” or “My Top 5 Favorite Lipsticks for Every Skin Tone.”
Keep it simple. Don’t try to teach the entire history of makeup in one go—your viewers just wanna know how to look bomb ASAP.
💡 Tutorials are GOLD because people are always searching for “how to” videos. Think of a look you’ve nailed a million times and start there. Easy peasy.
Step 2: Set the Stage (AKA, Your Makeup Wonderland)
You don’t need a fancy studio to film. Your bedroom or vanity area will work fine, as long as it’s not looking like a crime scene.
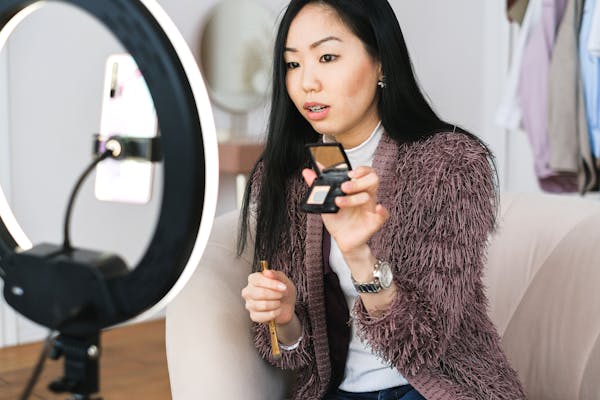
- Lighting: Natural light is FREE. Sit near a window for that soft, glowy vibe. Filming at night? Grab a ring light—it’s your BFF for even lighting.
- Background: Keep it cute but simple. Toss a plant in there, maybe a candle or two, and definitely no laundry piles lurking in the back.
- Clean Workspace: Nobody wants to see your half-empty coffee mug chilling next to your foundation. Declutter, babe.
Step 3: Gear Up (No Fancy Equipment Needed)
Let me tell you a secret: Your phone is a POWERHOUSE. Don’t worry about buying a camera right away. Use what you’ve got.
- Tripod Hack: No tripod? Stack some books and balance your phone. We’re professionals, but we’re also resourceful queens.
- Audio: If your room echoes like crazy, throw a blanket on the floor to absorb sound. And talk loud and clear—pretend you’re yelling at your friend who’s always late.
- Camera Settings: Shoot in 1080p for crisp, clear quality. Nobody wants to watch a blurry potato video.
Step 4: Film Like a Pro (Even If You’re Nervous AF)
Here’s where the magic happens. Don’t worry if you’re awkward—it gets easier, I promise.
- Start Strong: Flash that smile and introduce yourself like you’re chatting with a friend. Example: “Hey everyone! I’m [Your Name], and today I’m showing you how to get a flawless, glowy look that’ll have people asking, ‘What’s your skincare secret?’ Spoiler: It’s makeup!”
- Be Yourself: Don’t try to sound like some robotic influencer. If you say “umm” or giggle, it’s fine. Viewers love real people, not perfect ones.
- Angles Are Key: Keep the camera slightly above eye level. It’s the difference between “glam” and “double chin.”
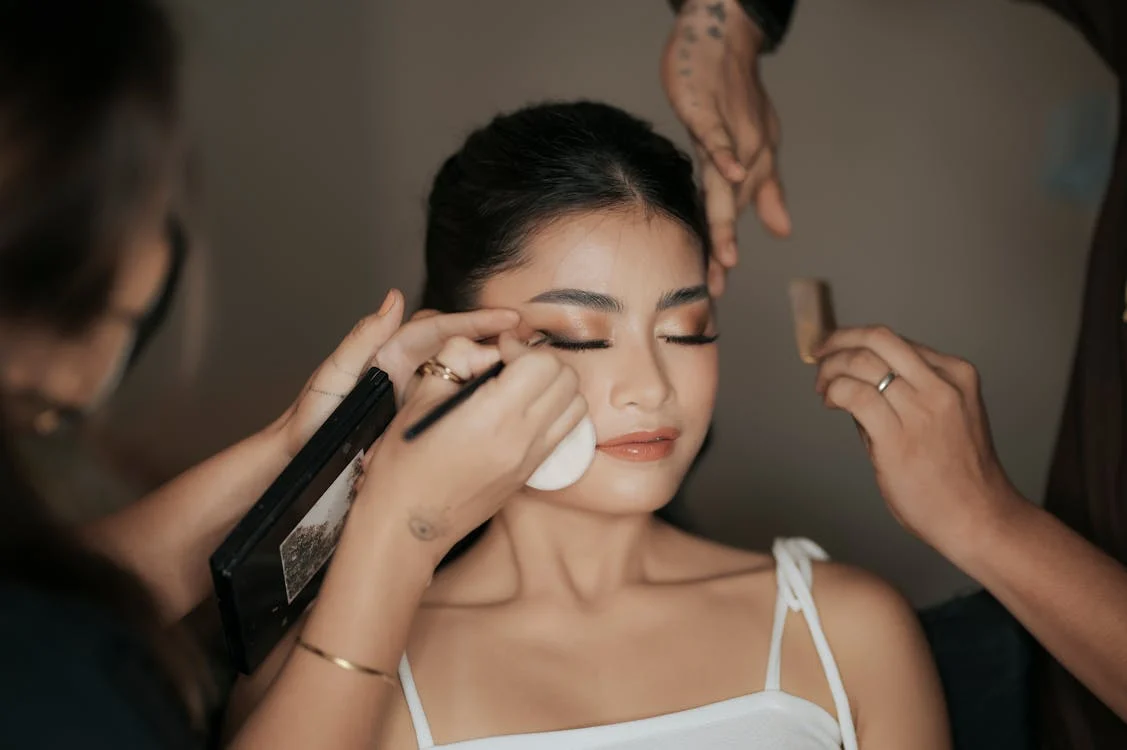
- Zoom In: When you’re showing products or applying makeup, bring the camera closer. People need to SEE that blending magic in action.
Step 5: Make It Entertaining (Don’t Be a Snoozefest)
The best videos aren’t just informative—they’re FUN. Add little personal touches.
- Crack a joke. Example: “This highlighter is so good, it could guide Santa’s sleigh.”
- Share tips like a boss: “Blend your foundation down your neck, because floating heads are not cute.”
- Tell stories! Maybe about the time you accidentally used eyeliner as a brow pencil and ended up looking like a cartoon villain.
Step 6: Editing (Where the Magic Happens)
Editing takes your video from “meh” to “wow.” And no, you don’t need to be Steven Spielberg to make it good.
- Apps: Try CapCut, iMovie, or InShot—they’re super user-friendly.
- Trim the Fat: Cut out any awkward pauses, rambling, or times when you accidentally drop your brush.
- Add Text: Highlight key steps, like “Blend, blend, blend!” or “Pro Tip: Use a damp sponge for flawless foundation.”
- Background Music: Add some soft, upbeat tunes so your video doesn’t feel like an awkward silent movie. YouTube has free music—use it!
Keep your video under 10 minutes for beginners. Short, snappy, and to the point.
Step 7: Upload and Shine (You Did It!)
Alright, queen, your video is ready to go live. Here’s how to make sure people actually watch it:
- Title: Make it catchy and searchable. Example: “How to Get Dewy Skin (Easy Makeup Tutorial for Beginners).”
- Thumbnail: This is your first impression. Use Canva to create a bright, eye-catching thumbnail with bold text like “DEWY SKIN MAGIC!”
- Description: Be friendly and helpful. Example:
“Hey loves! In today’s video, I’m teaching you how to create a glowing, dewy makeup look that’s perfect for any occasion. Products I used:
🌟 [Primer name]
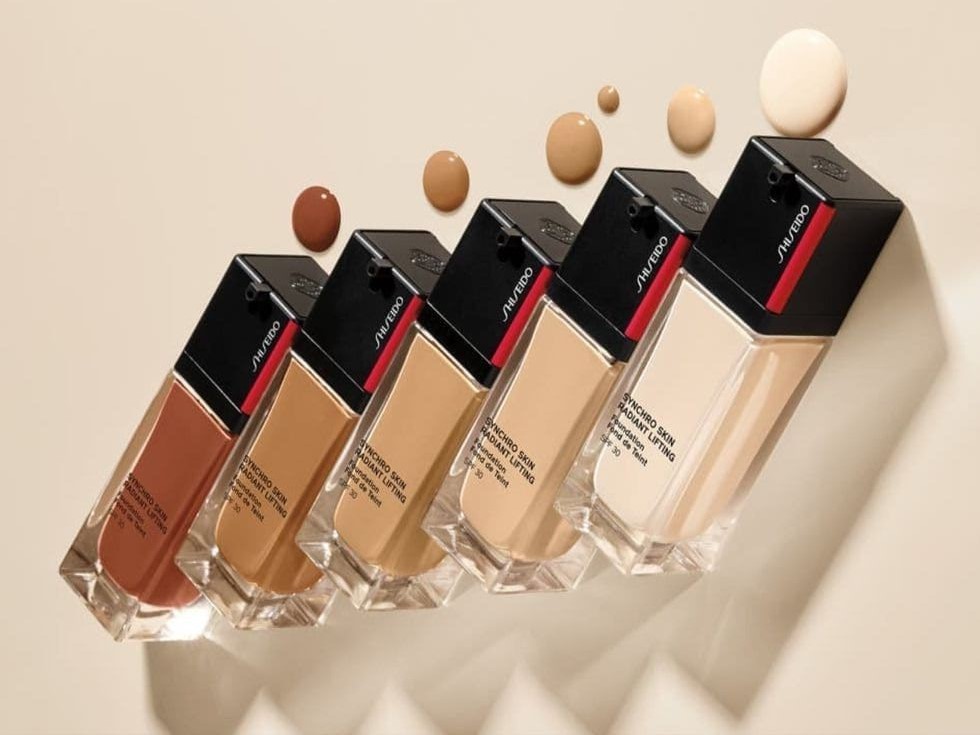
🌟 [Foundation name]
Don’t forget to like, subscribe, and let me know in the comments what look you wanna see next!”
Step 8: Keep the Momentum Going (You’re on a Roll)
Once your video is up, don’t just leave it there like an abandoned lipstick at the bottom of your bag.
- Engage with Comments: If someone says, “I loved this!” reply with, “Thanks so much! What look should I do next?”
- Share Everywhere: Post the link on your Instagram, Facebook, and even your WhatsApp group chat.
- Learn and Improve: Watch your video back (even if it makes you cringe) and think about what you can do better next time.
Look, I know starting feels scary. But let me tell you, every YouTuber you love? They all started somewhere. Their first videos weren’t perfect either. What matters is you START. You’re already amazing at what you do—now it’s time to show the world.
So grab your phone, your favorite foundation, and hit that record button. You’ve got this, babe. And if you mess up? Laugh it off and keep going. Your audience is gonna LOVE you, and you’ll be saying, “Why didn’t I do this sooner?”
Now, go slay that YouTube game! 🎥💄✨