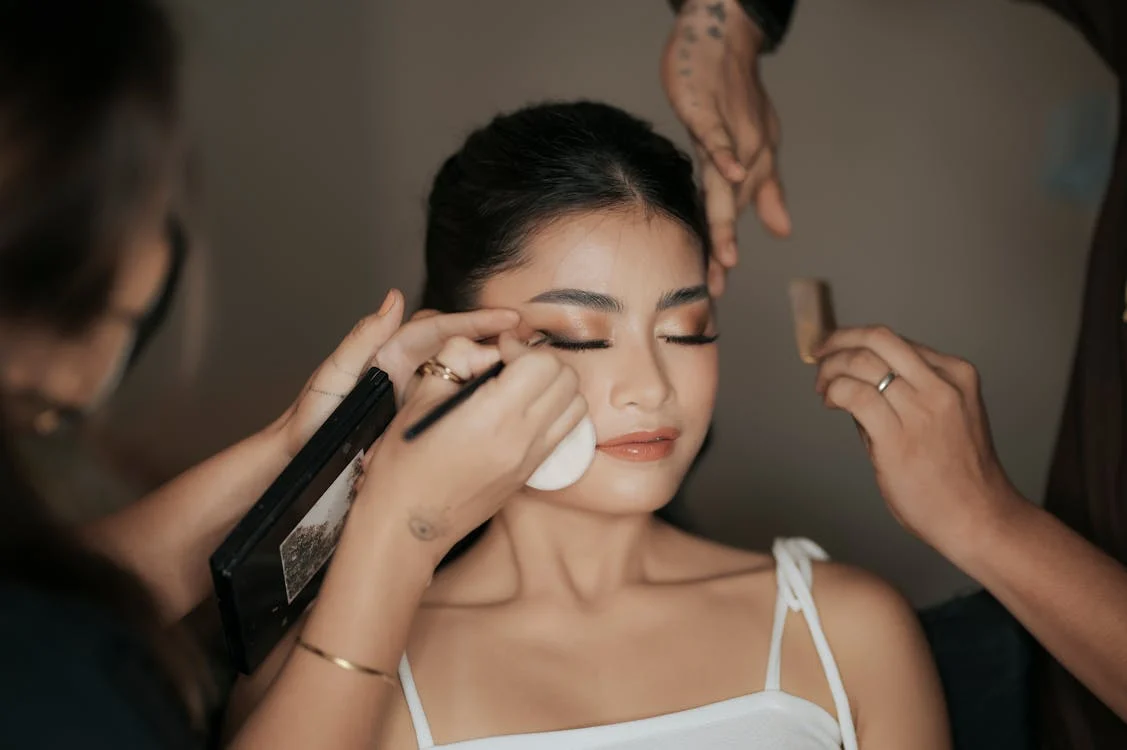
So, you know when you’re doing someone’s makeup, and you’re trying to get that perfect, flawless finish? You’ve blended, set, and contoured, but something still feels off. It could be the tool you’re using! When you get the right sponge for the job, it’s like everything falls into place—seriously, it’s that crucial. For makeup artists, choosing the right sponge isn’t just about convenience, it’s about working smarter and making sure your clients look flawless every time.
We all know how much of a pain it is when a sponge soaks up all your product (ugh, what a waste!) or when it’s too stiff and just doesn’t blend the way you want. So, let’s break down exactly what makes a sponge worth investing in.
Key Factors to Consider When Picking Your Sponge:
Okay, we’ve talked about the different types of sponges, but let’s get into the real nitty-gritty of what makes a sponge a must-have in your kit.
- Texture and Bounce
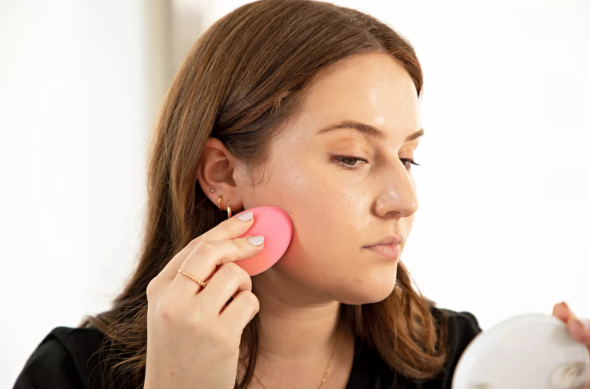
One of the most important features of a great sponge is the texture and bounce. Sponges need to have that perfect squishiness. If you push into the sponge and it barely bounces back, then it’s too stiff for good blending. If it doesn’t feel like it’s giving you a smooth, soft bounce, then you’re going to struggle with achieving a flawless finish.
A good sponge should feel soft but resilient. It should puff up and feel more sponge-like when dampened. That’s the sweet spot! And when you apply your foundation, you’ll feel the difference in how it buffs out without streaks or patchiness.
- Density
It’s all about how much the sponge absorbs. A super dense sponge may give you more coverage (hello full glam look!), while a slightly lighter sponge might give you a more natural, dewy finish. The great thing about this is that you can control the amount of product you apply with just the right sponge.
That’s why a lot of makeup artists like to have different sponges for different needs. One for full coverage, one for lighter layers, and maybe even one for setting powder to keep things fresh. 😊
When and How to Use Each Sponge:
Okay, so you’ve got a few sponges in your kit. How do you use them to get the best results? Here’s the breakdown!
- Teardrop Sponges: The Jack-of-All-Trades
You’ve probably seen this one everywhere, and for good reason! The teardrop sponge is a makeup artist’s best friend. It’s super versatile, so it’s great for multiple steps. You can apply foundation with the wider side, blend concealer with the pointy tip, and even add a little blush or highlighter.
MUAs Tip: If you’re going for a full coverage look, use a dry sponge. You’ll get more product on your skin. But if you want something more natural and sheer, dampen the sponge first. It gives a more blended, airbrushed finish.
- Flat-Edge Sponges: Perfect for Baking and Contouring
Flat-edge sponges are an absolute game-changer for anything that involves shaping and defining. When you’re doing a client’s makeup and need to contour or bake, a flat-edge sponge will let you get into those precise areas, like along the cheekbones or jawline. This is the sponge you want to get that sharp line, whether you’re cutting that contour or carving out a defined nose.
MUAs Tip: Once you’ve applied your setting powder with the flat-edge, press the sponge into your skin to really lock everything in. You’ll get that smooth, seamless look!
- Mini Sponges: Detail Work for the Win
Mini sponges are tiny, but trust me, they are so helpful. Especially when you need to get into smaller areas around the eyes or nose. These babies are great for applying concealer under the eyes and around the brows. They’re perfect for precise spots where a full-sized sponge would just be a little too big.
MUAs Tip:: Keep a mini sponge in your kit for touch-ups during bridal or event makeup. You can quickly blend out any areas without disturbing the rest of your makeup. Plus, they’re great for cleaning up around the lips after applying bold lip colors!
- Silicone Sponges: The New Kid on the Block
Okay, I know, silicone sponges can be a little controversial. Some people swear by them, and others find them tricky to use. The cool thing about silicone sponges is that they don’t absorb any product. So if you’re tired of your foundation getting sucked into your sponge, this could be your new best friend. But you have to use it the right way.
MUAs Tip: Silicone sponges are great for applying product, but you’re going to want to follow up with a damp beauty sponge to blend it out. It helps diffuse any harsh lines and leaves you with a smooth finish.
Extra Tips to Level-Up Your Sponge Game
- Always Keep Sponges Clean!
This should go without saying, but I’ll say it anyway—wash your sponges regularly! Nothing’s worse than working with a dirty sponge, especially if you’re doing makeup on clients. You could transfer bacteria and cause breakouts, so make sure to clean your sponges after every use. Use a mild soap or a brush cleanser to remove product build-up. Let them air dry completely before using them again. - Replace Your Sponges Regularly
Sponges can wear out pretty quickly, especially if you use them every day. If you notice that your sponge is starting to tear or lose its bounce, it’s time for a new one. Your makeup application will suffer if your sponge is damaged or too worn. - Experiment with New Shapes
Don’t limit yourself to just one sponge. Try different shapes to see which one works best for your needs. You never know when a new sponge shape might totally change your makeup application game! Some sponges even come in unique shapes like wedges or discs to tackle specific areas on the face.
So, Why Do You Need the Perfect Sponge?
At the end of the day, your sponge isn’t just a tool—it’s part of your artistry. Whether you’re a professional MUA or just love doing your makeup at home, the right sponge can make all the difference. It’s about perfecting your technique and having the right tool for the job. With the right sponge, you can seamlessly blend your foundation, achieve that perfect contour, and make sure your makeup lasts all day (or night!).
So don’t rush your sponge decisions—take your time and find the one that’s going to take your makeup to the next level. And remember, a great sponge can mean the difference between good makeup and wow makeup. 😍
Happy blending! ✨🧖♀️