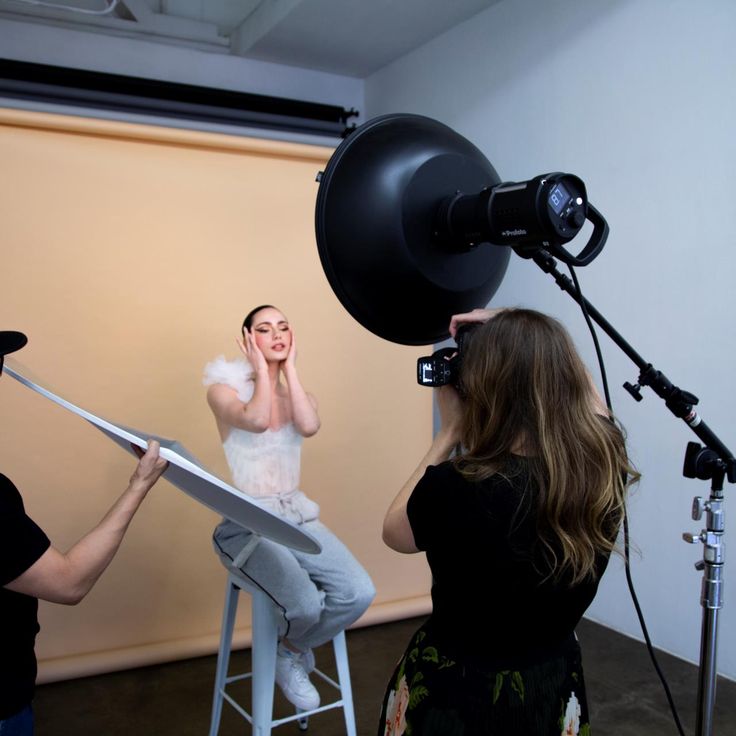
Alright, fellow MUAs, let’s talk about something that every professional makeup artist struggles with: organization. We’ve all been there—your palette’s a mess, you can’t find that perfect shade of eyeshadow, and the clock is ticking before your client’s big moment. 😱 It’s like trying to find a needle in a haystack! But don’t worry, I’ve got your back.
Getting your makeup palette organized for quick access doesn’t have to be a chore. With a few smart tricks and a little bit of planning, you’ll be able to reach for exactly what you need without even thinking about it. Let’s dive in!
Step 1: Start With a Clean Slate
Before you start organizing your makeup palette, take everything out and give it a good wipe-down. Trust me, you don’t want to keep old powder or sticky eyeshadow messes hanging around. Plus, it’s a chance to check for any expired or dried-out products—if it’s not working, it’s time to toss it! 💔
MUA’s tip: Keep a disinfectant spray in your kit for a quick clean-up after each use. No one wants to work with dirty tools or palettes, and it makes everything feel so much fresher!
Step 2: Sort by Category
This is where the magic happens. You need to break everything down into categories. Trust me, you’ll thank me later when you’re reaching for that contour shade without pulling out a thousand lipsticks first.
Here’s a good starting point for categories:
Eyeshadows: Arrange them by color or finish (matte, shimmer, metallic, etc.).
Face Products: Foundation, concealers, powders, and highlighters can all go together. You could even sort them by undertone or coverage type if you really want to get fancy.
Blushes & Bronzer: Keep them separate from eyeshadows to avoid mixing up colors when you’re working fast.
Lip Products: Lipsticks, glosses, liners—keep them in their own section. If you’re working on multiple clients, I highly recommend using disposable applicators for hygiene.
MUA’s tip: If you’re using a multi-tiered palette or compact, try separating items within each section by light and dark shades. That way, it’s easier to grab what you need depending on the look you’re going for!
Step 3: Use Dividers and Organizers
No, I’m not talking about just chucking everything into one big drawer. We need some structure, people! Get yourself some dividers, trays, or even small makeup jars to keep everything separated. This makes sure that your eyeshadow doesn’t end up mixing with your blush, and you’re not fumbling through a mess to find what you need.
Makeup Palettes with Removable Pans: These are perfect for organizing your essentials. You can mix and match shades based on your client’s needs and swap them in and out.
Travel Cases with Multiple Compartments: These are great if you’re working on-location or need something portable. You can organize your face products, eye products, and lips all in their own sections.
Small Clear Trays: If you have a ton of individual products, clear acrylic trays can give you quick access to everything. Plus, they’re easy to clean and see-through!
MUA’s tip: Label each compartment or section with a sticky note or marker. You’ll remember where everything is much faster, and trust me, after a long day, your future self will thank you.
Step 4: Color-Coding Is Your Best Friend
I know, I know, this might sound like a lot of extra work. But color-coding your palette makes it so much easier to grab what you need in a pinch. For example:
Neutral Tones: Keep your beige, brown, and peach tones in one section for easy access.
Bold & Bright Shades: Keep these in a separate area so you know exactly where to go when you want to make a statement.
Pinks and Purples: You can’t go wrong with this color family for eyeshadows and blushes. Keep them together for a fast grab when you’re in the mood to create some drama!
MUA’s tip: If you don’t want to label everything, you can also use colored tape around your palette to separate sections. It’s quick, cost-effective, and way easier than sifting through everything!
Step 5: Make It Customizable for Your Clients
When you’re organizing your palette, think about how you can make it work for different client needs. If you have a busy day ahead with multiple clients, organize your palette based on the most common products you use for them.
For Bridal Makeup: Stick to neutral tones and long-lasting formulas (perfect for all-day wear).
For Editorial: Pack your brightest colors, glitters, and anything else that screams “bold.”
For Everyday Looks: Have a solid collection of foundation shades, concealers, blushes, and soft eyeshadows.
MUA’s tip: Invest in a palette with interchangeable pans for easy customization. This way, you can build the exact palette you need for each client.
Step 6: Don’t Forget the Essentials
Keep your most-used products within easy reach. If you have a foundation that you’re always mixing or a concealer that works wonders, put it right at the top of your kit or in a separate, easy-to-access tray.
Setting Sprays: Keep these handy for quick touch-ups throughout the day.
Tweezers & Sponges: These should be kept in a clean, sealed compartment to prevent contamination.
Brushes: A quick brush-cleaning spray and a small brush holder will keep things tidy.
MUA’s tip: Use a small bag or pouch inside your makeup case to store disposable applicators, cotton pads, and other smaller tools. That way, they’re always organized and ready to grab without making a mess.
Step 7: Make the Case Work for You
While you’re organizing, think about the layout of your makeup case itself. Make sure everything is easy to access and that you’re not digging around to find things.
Here’s a few options to consider:
Top Tier: This is for your most-used products, like foundation, concealer, and setting powder.
Middle Tier: Store your blushes, bronzers, and eyeshadows here.
Bottom Tier: Keep your lipsticks, liners, and any extra tools you don’t need to grab constantly.
MUA’s tip: When you’re packing for a job, take a second to think about the space you’ll be working in. Do you need to bring more compact products for quick set-ups, or are you set up in one location where you can bring a bulkier palette?
Step 8: Maintain the Organization
Once your makeup kit is organized, it’s crucial to keep it that way! Spend a few minutes at the end of each day or week to make sure your makeup palette is in good shape. Throw away expired products, clean your palettes and tools, and reset everything back into its rightful place.
MUA’s tip: After each gig, make sure you clean your palette and tools thoroughly. The last thing you want is bacteria growing in your kit, especially if you’re going between multiple clients.
Organizing your makeup palette isn’t just about keeping things pretty—it’s about efficiency, speed, and providing a better experience for your clients. The less time you spend looking for that one lipstick or eyeshadow, the more time you have to focus on creating flawless looks that will have your clients coming back for more.
So, take these tips and run with them! You’ll be more organized, faster, and most importantly, you’ll feel like you’ve got your whole makeup game under control. Now, go get that palette organized and watch your workflow become smoother than ever. ✨💄