Hey lovely friends! 🌟 I know color correcting can feel a bit overwhelming at first, but once you get the hang of it, it becomes second nature. Whether you’re a makeup artist or just someone looking to perfect their everyday makeup routine, color correcting is a powerful tool that can take your makeup game to the next level. So, let’s break it down in a way that feels approachable and easy to understand. Ready? Let’s go!
Why Color Correcting Matters
Ever tried to cover a pimple or those dark circles only to find they’re still peeking through? That’s because regular concealer and foundation might not always be enough. Color correcting works by neutralizing specific skin concerns using the color wheel. Opposite colors cancel each other out—so if you have redness, you’ll use green; if you have dark circles, you’ll use peach or orange. It’s like magic for your makeup bag!
Which Color Corrector for Which Skin Concern?
Redness & Rosacea
If you struggle with redness from blemishes, rosacea, or irritation, green is your best friend. Green cancels out red tones, making those inflamed areas blend in beautifully with your skin. Just a little on the affected areas will do the trick! Use a light hand when applying—it’s better to build up than to apply too much at once. Blend it well and then apply your foundation. Trust me, the difference will be noticeable!
Dark Circles
Dark under-eye circles can be tricky, especially when they appear bluish or purple. Here’s where orange or peach correctors shine. For fair skin, peach works wonders, while deeper skin tones benefit from an orange hue. Apply a small amount directly under your eyes, blend it in with your ring finger or a soft brush, and watch those circles disappear! Top it off with your favorite concealer for an even brighter look.
Sallow or Dull Skin
Feeling like your complexion is just a little flat or yellow? Lavender or lilac correctors can revive that tired look. Dab it lightly onto areas that feel a bit dull—maybe around your cheeks or jawline—and blend it out gently. You’ll notice an instant brightness that makes your skin look fresh and glowing. Perfect for those no-makeup makeup days or when you want a dewy finish!
Dark Spots or Hyperpigmentation
For those stubborn dark spots, hyperpigmentation, or uneven skin tone, peach or orange correctors are your go-to. Lightly pat them on the areas that need some evening out. Again, blend it well to ensure it meshes with your natural skin tone. Once done, applying your foundation will give you a smooth, flawless base without those patches sticking out.
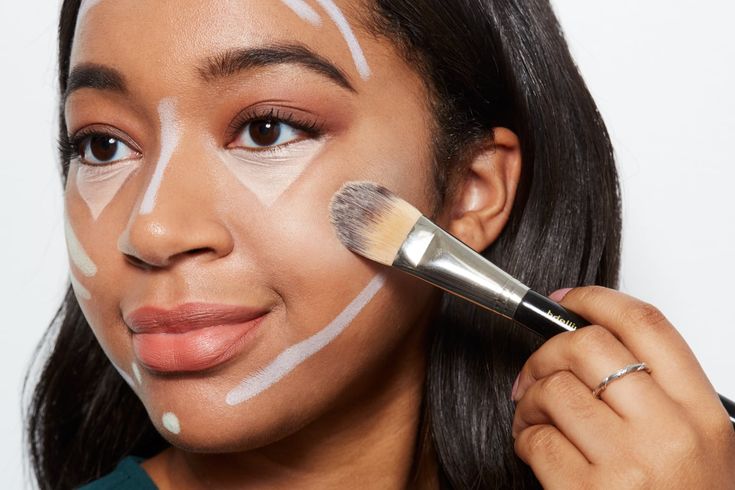
How to Apply Color Correctors ?
Start Light: Less is more when it comes to color correcting. Applying too much can make your makeup look cakey or unnatural.
Blend Like a Pro: Whether you’re using a brush or your fingertips, blending is key! You want a seamless transition from the color-corrected area to the rest of your skin.
Layer Smartly: Always apply your color corrector before foundation or concealer. Think of it as creating a smooth base for the rest of your makeup.
MUA’s Tips for the Best Results:
Test in Natural Light: Makeup can look very different under artificial light, so step into natural light when checking your color correction.
Use a Setting Powder: If you have oily skin, setting with a light, translucent powder can help keep everything locked in place.
Experiment: Everyone’s skin is unique! It’s worth experimenting with different shades and techniques to see what works best for you.
So, what’s your experience with color correcting? Have you found a go-to product that works wonders, or do you have any tips that have helped you along the way? I’d love to hear your thoughts in the comments below! 💖